Surface mounting of WS 75 RSAP: Supply air/exhaust air on wall side, connections at rear (second room)
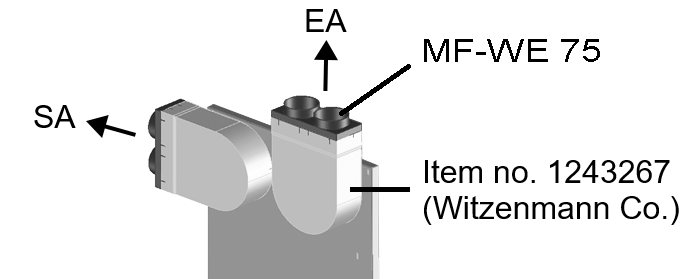
In addition to the supply air and exhaust air openings on the side of the Powerbox H, a further supply air and/or exhaust air connection can be set up on the rear wall side. The connection of the ducts is made using the 1243267 (Fa. Witzenmann) brackets. These are installed at exact locations in the wall before the RSAP metal shell sheet is mounted.
- Use a hammer to press out the pre-punched supply air and/or exhaust air sheet metal openings from the RSAP metal shell sheet.
- Preparing the installation location → previous chapter. Proceed as described there in steps 2 to 6. In step 2, also mark the centres of the supply air and exhaust air hole.
- Make recesses for the 1243267 (Fa. Witzenmann) brackets in the wall. When doing this, take into account the exact position of the SA/EA connections.
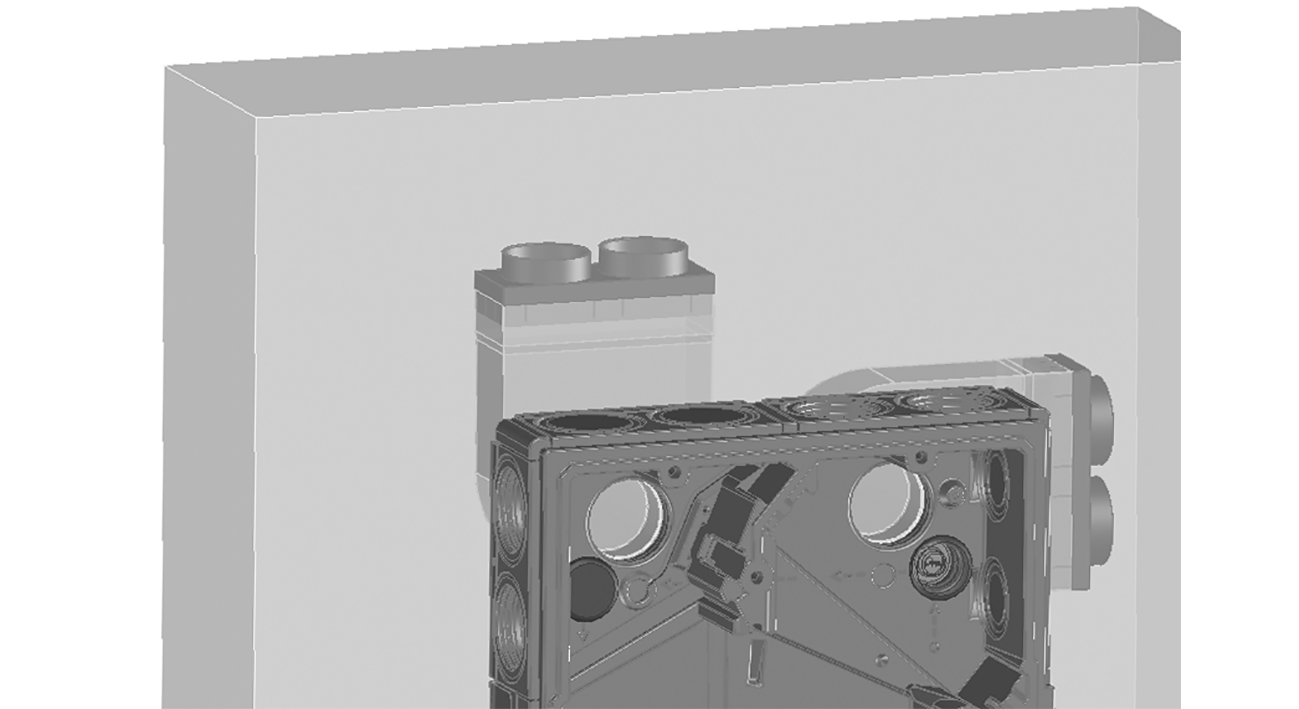
- Install bracket 1243267 (Witzenmann) in the wall. Insert the MF-WE75 plug-in adapters into bracket 1243267 (Witzenmann). Connect the pipes to the MF-WE75 plug-in adapters.Seal any unused connections securely with plugs.
CAUTION: The supply air and exhaust air connection pieces must be flush with the finished tiled/plastered wall.
Cut the connection pieces flush with the wall. - To seal at the wall, apply a continuous strip of silicone all the way around the supply air and exhaust air sockets (silicone provided by customer).
- Undertake the rest of the installation as in steps 7 to 12 in the previous chapter.